


An easy way to make clamshell blister packaging
- Posted on
- Posted in Packaging
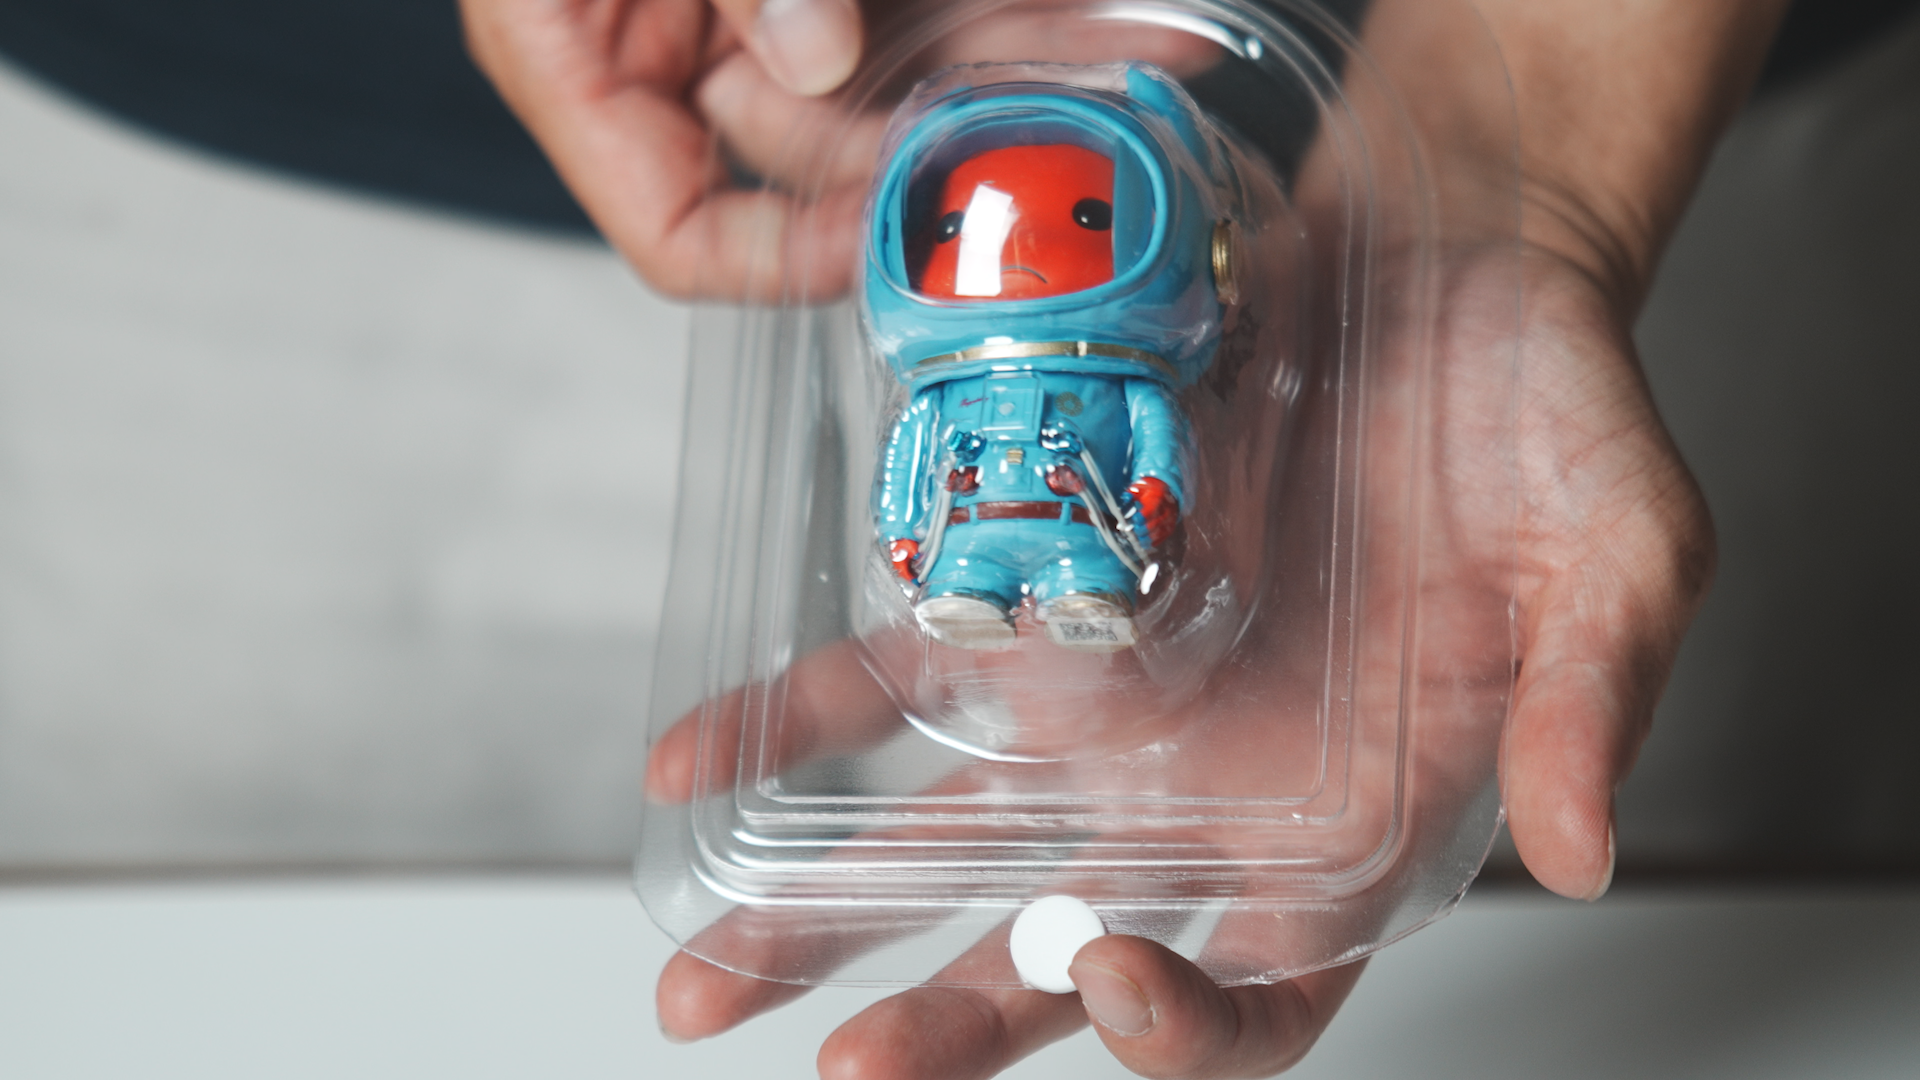
Learn how to create your own blister packaging at home using a laser cutter and vacuum forming; no 3D printer required. Perfect for small businesses, crafters, and DIY product packaging.
If you’ve ever wanted to create your own packaging for products like handmade crafts, collectibles, or small figurines, then blister packaging is a practical and professional-looking option. Traditionally, blister packaging relies on expensive moulds and large production runs, making it out of reach for many small businesses, hobbyists, and independent makers.
But there’s a more accessible way.
In a previous guide, we showed you how to make clamshell-style blister packaging using a 3D printer and a vacuum former. However, not everyone has access to a 3D printer. This updated method offers an alternative way to make your own packaging using simpler tools, specifically a laser cutter and a vacuum forming machine.
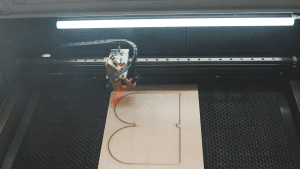
While we previously presented a packaging type requiring a rather complex 3D printed mould, this time the shape is a bit simpler. Using the DXF files linked below, you can use a laser cutter to cut out the necessary shapes.
If you don’t have a laser cutter, then you can look at the design and make something similar to cut out by hand.
This technique is ideal for small-scale packaging production or custom product presentation, offering a low-cost, low-barrier entry into professional-looking blister packaging.
Watch the full tutorial video below, and download all necessary files to get started with your own vacuum-formed packaging today.
Files
Machines
- Laser cutter
- MY YARD vacuum former
- 8 mm hole punch
Materials
- 8 mm locking pins or UV adhesive for PET
- Wooden board, 3 mm thick
- PET sheet, 0.3 - 0.5 mm
- Air-dry clay
Instructions
- Download the DXF files via the link above.
- Load the files into your laser cutting software and cut the shapes out of the wooden board.
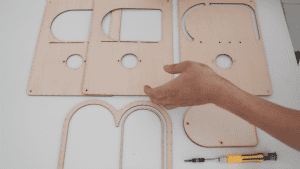
- Glue the parts together or assemble them with screws.
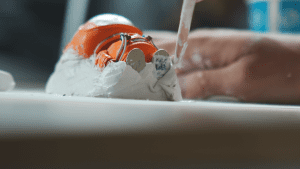
- Use air-dry clay or another material to fill in the bottom of your figurine and create a shape that is easy to mould. Remember to avoid undercuts and to include a release angle for demolding.
Find out more about designing moulds for vacuum forming
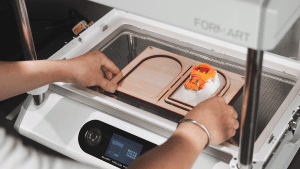
- Place the PET sheet on your MY YARD vacuum former and form the sheet over the figurine and mould that you made in the previous steps.
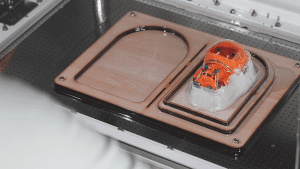
- Let the sheet cool and remove it from your vacuum former.
- Trim excess material along the edges.
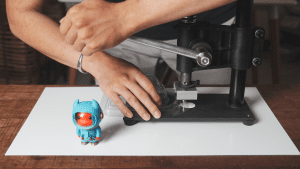
- Fold the blister packaging in half and punch a hole at the top.
- Secure the hole with an 8 mm lock pin or UV adhesive for PET.
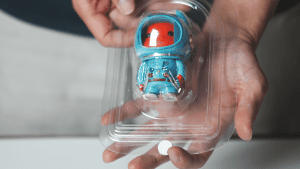
- Done! You just created your own custom blister packaging!