


How to make a creative display frame using a vacuum former
- Posted on
- Posted in Interior design, Packaging
Showcase your art with this easy to make creative display frame.
You don’t always need 3D modelling to create fun packaging or displays. In this video you can see how we made a unique toy display using an IKEA photo frame, wooden blocks and a saw.
Take a look and discover that frames are not only for photos or paintings!
Machines
- Bandsaw
- MY YARD vacuum former
Materials
- Wooden block
- PET sheet, 0.5 mm
- HIPS sheet, 1.0 mm
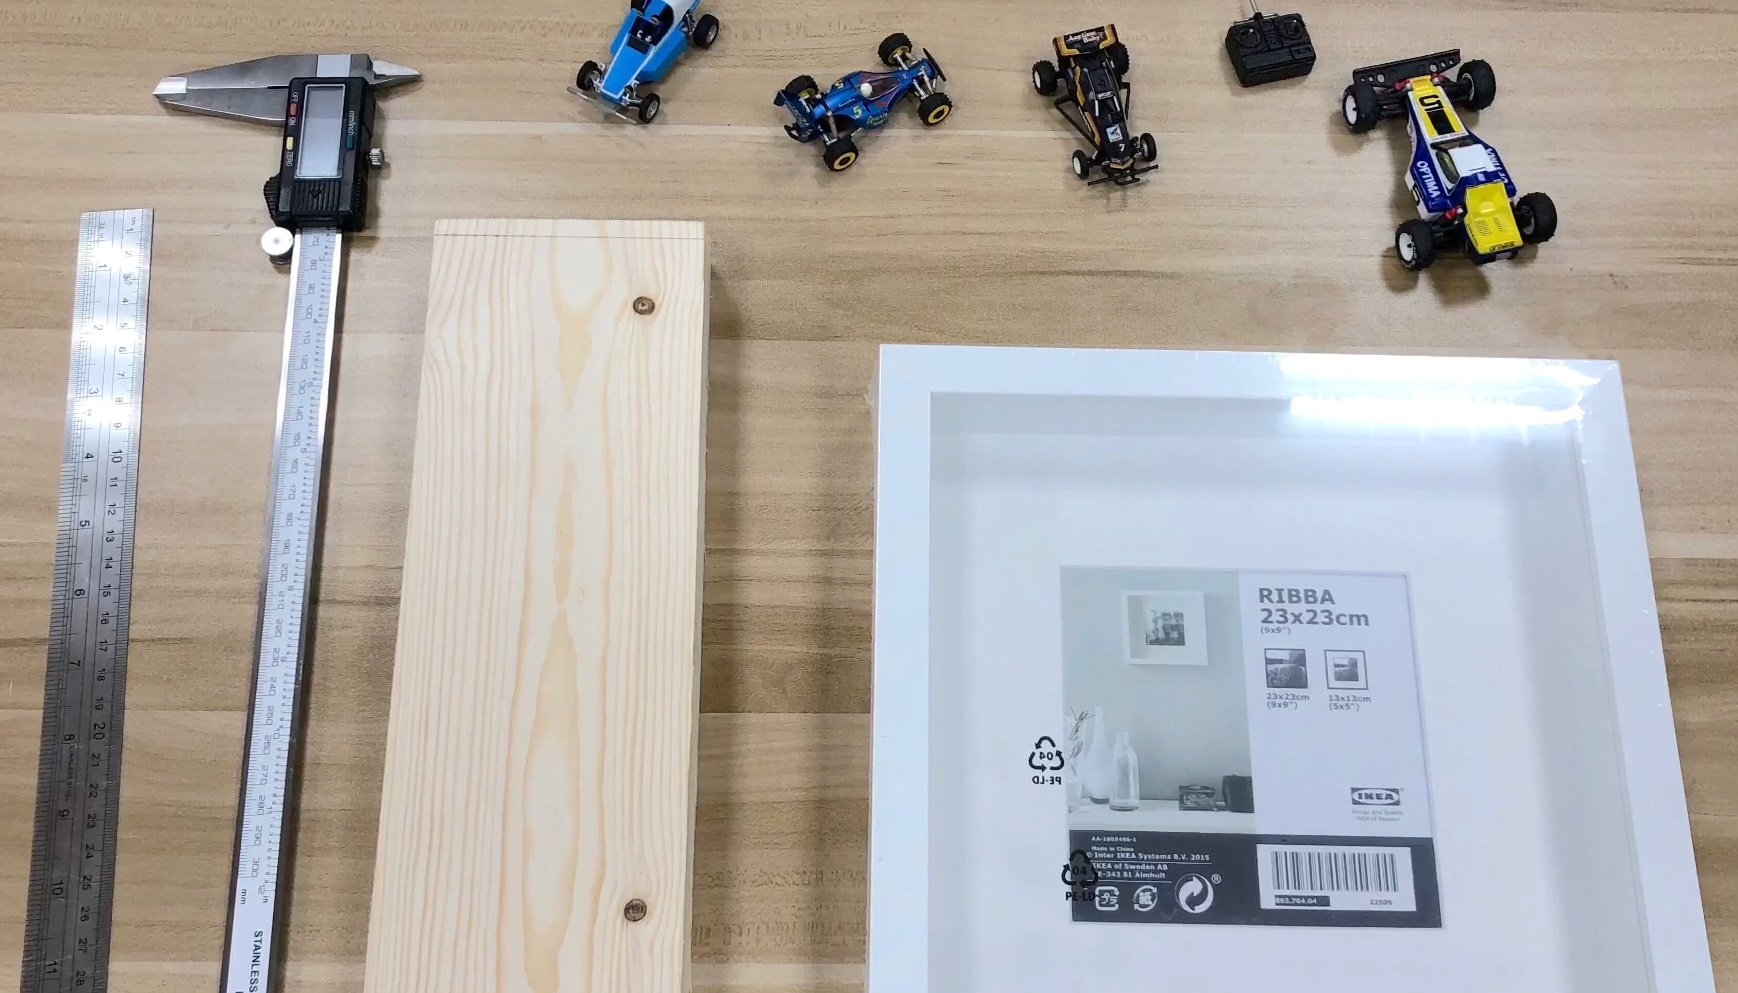
- IKEA RIBBA 23 x 23 cm photo frame
Instructions
- Measure the size of the object(s) you want to display: length, width and height.
- Draw these measurements on a wooden block and use a bandsaw to cut the wood into the desired shape.
We recommend adding bevels on the edges of the block to avoid any 90° angles. The bevels will reduce the risk of webbing during vacuum forming. - Measure the length and width of the inside of the photo frame. Then cut the HIPS sheet down to this size. The sheet will act as a bottom plate for the wooden blocks so you get a flat surface while vacuum forming.
- Drill ventilation holes in the corners of the HIPS sheet so air can escape during vacuum forming. These holes should be 1.5 - 2 mm in diameter and as close to the corners as possible.
- Lay down the HIPS sheet in your vacuum former and put the blocks on top. You can glue the wooden blocks to the sheet to keep them in place, if necessary.
- Now that your mould is ready, you can start vacuum forming. Pull the transparent PET sheet over the wooden blocks to form the tray for your object(s).
- Place your object(s) in the tray and place it inside the photo frame./
- Add the inner frame, and maybe some additional background decoration, then reattach the back panel to the photo frame.