


How to make a magnetic honeycomb display lamp with a vacuum former
- Posted on
- Posted in Arts & Crafts, Home decor
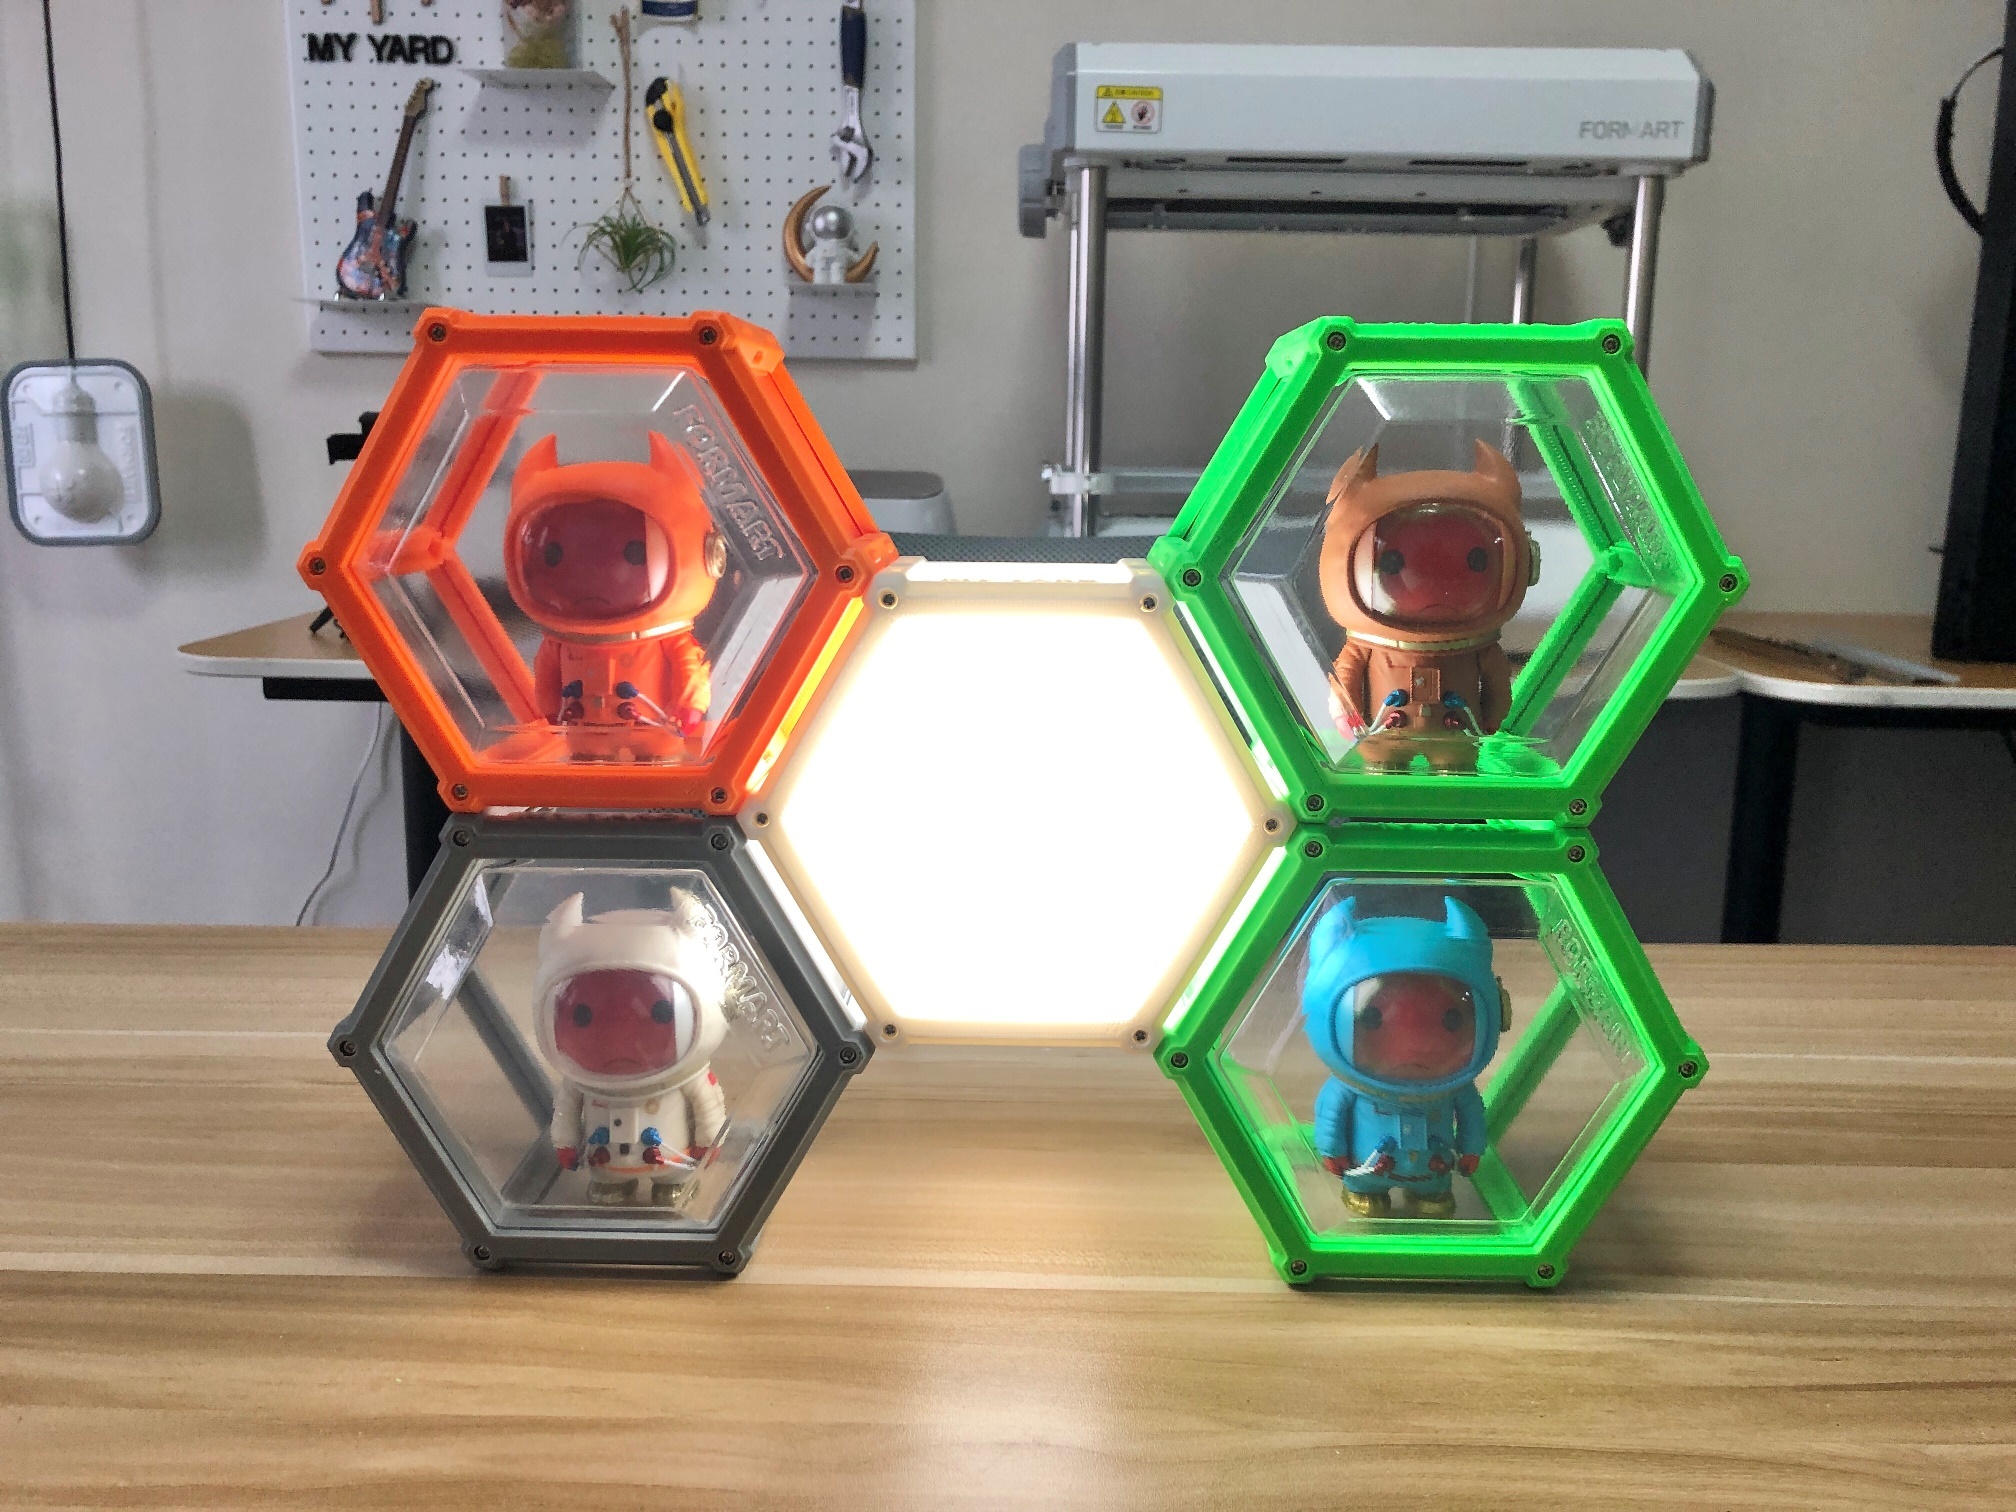
Make a magnetic modular honeycomb display lamp with a vacuum former and a 3D printer to showcase your favourite pieces.
One advantage of vacuum forming is that you can easily make and reproduce blisters in various shapes and sizes.
In the video below, you can see how you can combine a 3D printer and a vacuum forming machine to make a lamp display with honeycomb modules.
If you would like to create your own display, you can find the building instructions below. They also include a more detailed video on the assembly of a honeycomb element.
Files
Machines
- 3D printer
- MY YARD vacuum former
Materials
- PET sheet, 0.5 mm
- 5 W LED light with USB wire
- 12 magnets, 10 x 5 x 2 mm
- 6 M2x10 round head self-thread screws
Instructions
In the video below you can see a more detailed assembly of a honeycomb module.
- Download the STL files and print them with your 3D printer.
- Use 0.5 mm PET sheets to form the hexagonal blister shells. You will need multiple transparent shells for the displays (two per display box: back and front) and at least one opaque shell for the light (one per light box: front).
You can also use HIPS sheets instead of PET for the opaque parts of the display. - Cut the hexagonal blister along the bottom surface, then insert it directly into the tenon of the honeycomb frame.
- Slide the hexagonal fixing frame into the honeycomb to lock the blister in place.
- Cut several 66 x 55 mm transparent or opaque sheets and place them into the sides of the frame.
- Screw the back panel onto the box to fix the side walls in place.
- Put 10 x 5 x 2 mm magnets into the slots on the frame of the box.
- Put another hexagonal blister into the tenon of the rear frame cover and slot it in the back of the honeycomb box.
- The light box has a special back panel with the fitting for the LED light.
Repeat these steps for every display case you want to make. Once the elements are finished you can combine them in any way you like to make your illuminated display.